


Mastering the Art of Laser Engraving: Software and Essential Engraving Tips
10%
OFF
Hurry! Offer Ends Soon!
CODE:BESTMP10
COPY
CODE
CODE
Laser engraving has become an increasingly popular technique for businesses and hobbyists alike. Its versatility allows for precise marking on various materials, from wood and acrylic to metal and glass. However, achieving optimal results requires not only a powerful laser but also the right software and a good understanding of engraving techniques.
This comprehensive guide explores the world of laser marking software, delves into essential engraving tips, and introduces the Monport GA MOPA Fiber Laser – a machine designed to elevate your engraving game.


The Power of Laser Marking Software
Laser marking software acts as the bridge between your design concept and the laser engraver itself. It allows you to create, edit, and import designs, as well as control various laser parameters for optimal results. Choosing the right software plays a crucial role in achieving the desired level of precision, detail, and efficiency in your engraving projects. Here are some key features to consider when selecting laser marking software:

- User-friendliness: Look for laser marking software with an intuitive interface that is easy to learn and navigate, especially if you're a beginner.
- Compatibility: Ensure the laser marking software is compatible with your specific laser marking machine model. Most popular laser engravers are compatible with a variety of software options.
- Design Capabilities: Choose a laser marking software that offers the design features you need, such as vector editing tools, image importing capabilities, and text formatting options.
- Laser Parameter Control: The ability to control parameters like power, speed, and pulse width is essential for achieving the desired engraving depth and detail on different materials.
- Preview Function: A preview function allows you to visualize your design on the software before sending it to the laser engraver, minimizing the risk of errors and material waste.
Popular Laser Marking Software Options
There are various laser marking software options available, each with its own strengths and functionalities. Some widely used options include:

- EZCAD 2: A common software included with many laser engraving machines, offering basic design features and laser parameter control.
- LightBurn: A user-friendly software with advanced features like image editing, dithering, and layer control, compatible with a wide range of laser engravers.
- CorelDRAW: A powerful design software with laser engraving plugins available, offering extensive design capabilities for experienced users.
Essential Engraving Tips to Elevate Your Projects
Beyond choosing the right software, mastering the art of laser engraving involves understanding key techniques and best practices. Here are some valuable engraving tips to elevate your engraving projects:
- Material Selection: Different materials have varying engraving properties. Choose a material suitable for your desired outcome, considering factors like laser absorption and potential for heat distortion.
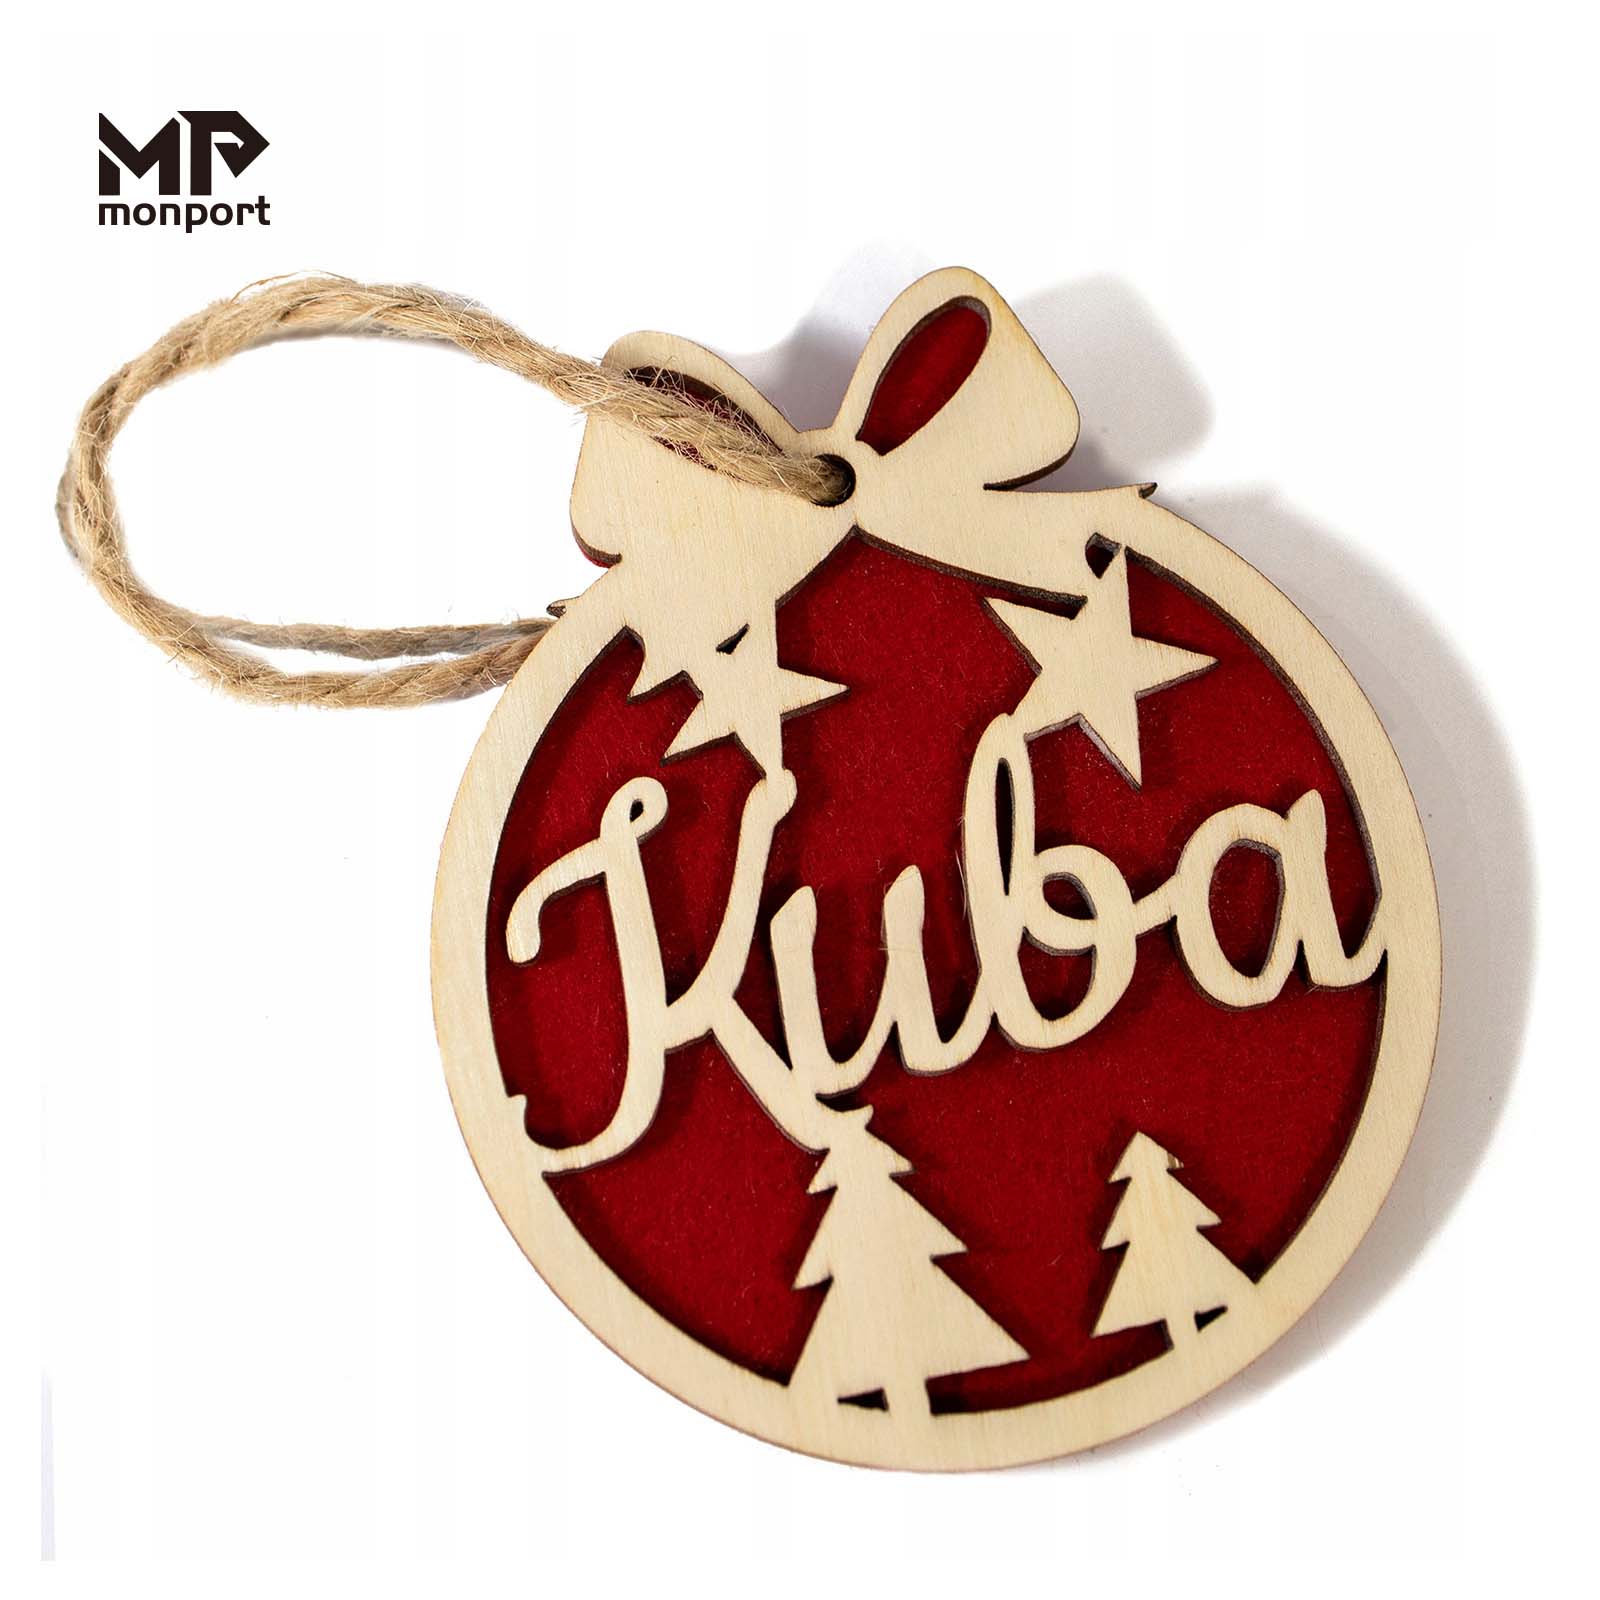
- Image Optimization: For best results, ensure your images are high-resolution and in black and white. Utilize the software's image editing tools to adjust brightness and contrast for optimal laser engraving.
- Test and Experiment: Before engraving your final project, conduct test runs on scrap material to fine-tune laser parameters like power, speed, and focus. This helps you achieve the desired engraving depth and detail without wasting materials.
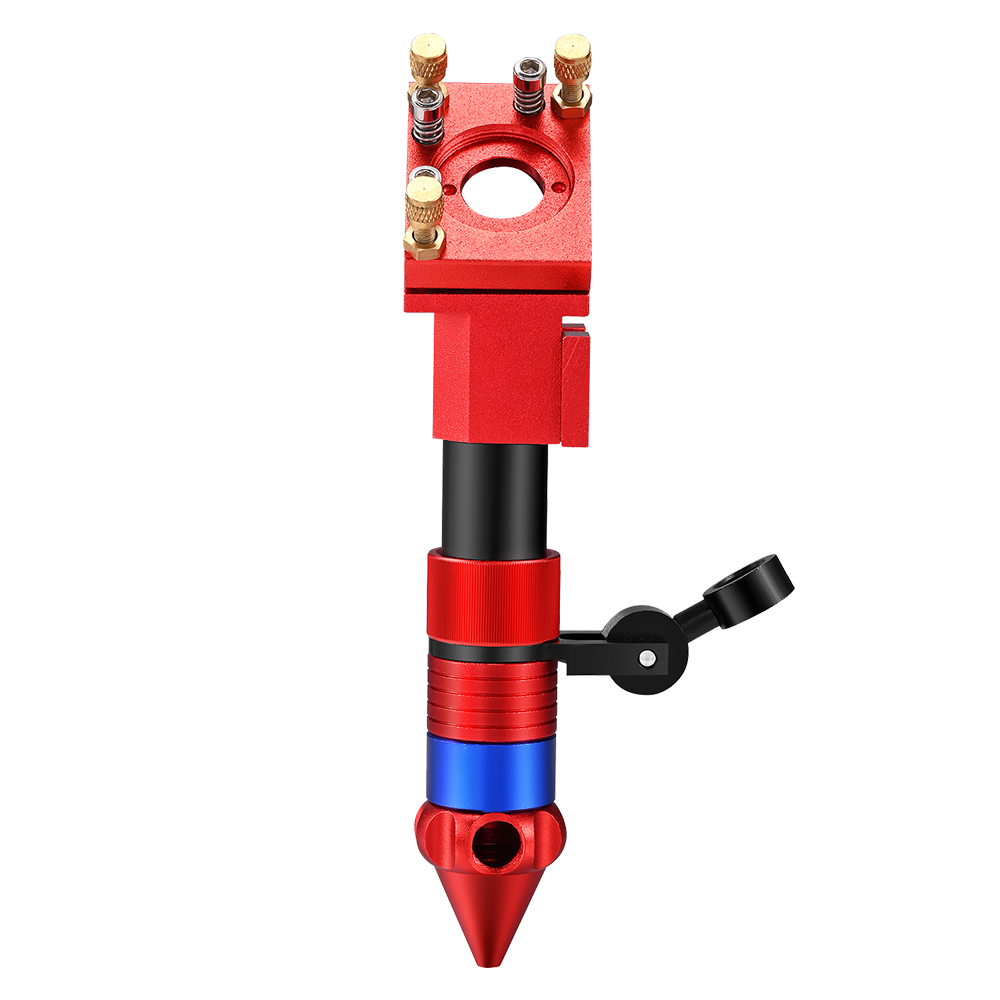
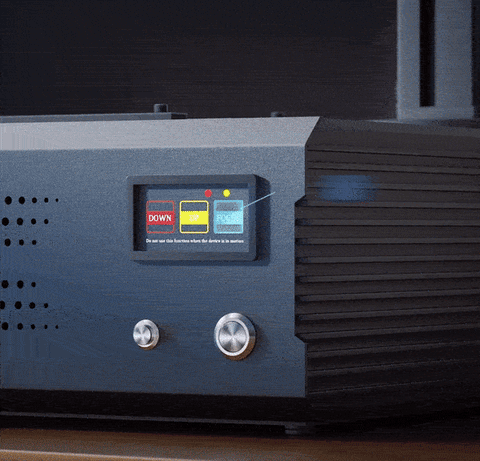
- Cleaning and Maintenance: Regularly clean your laser lens to ensure optimal beam quality and engraving precision. Additionally, follow proper maintenance procedures as outlined in your laser's user manual.
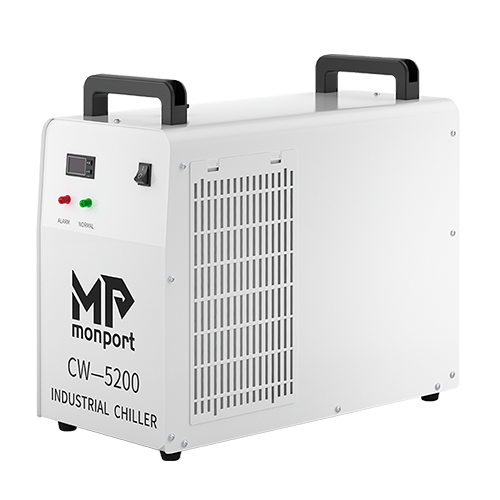
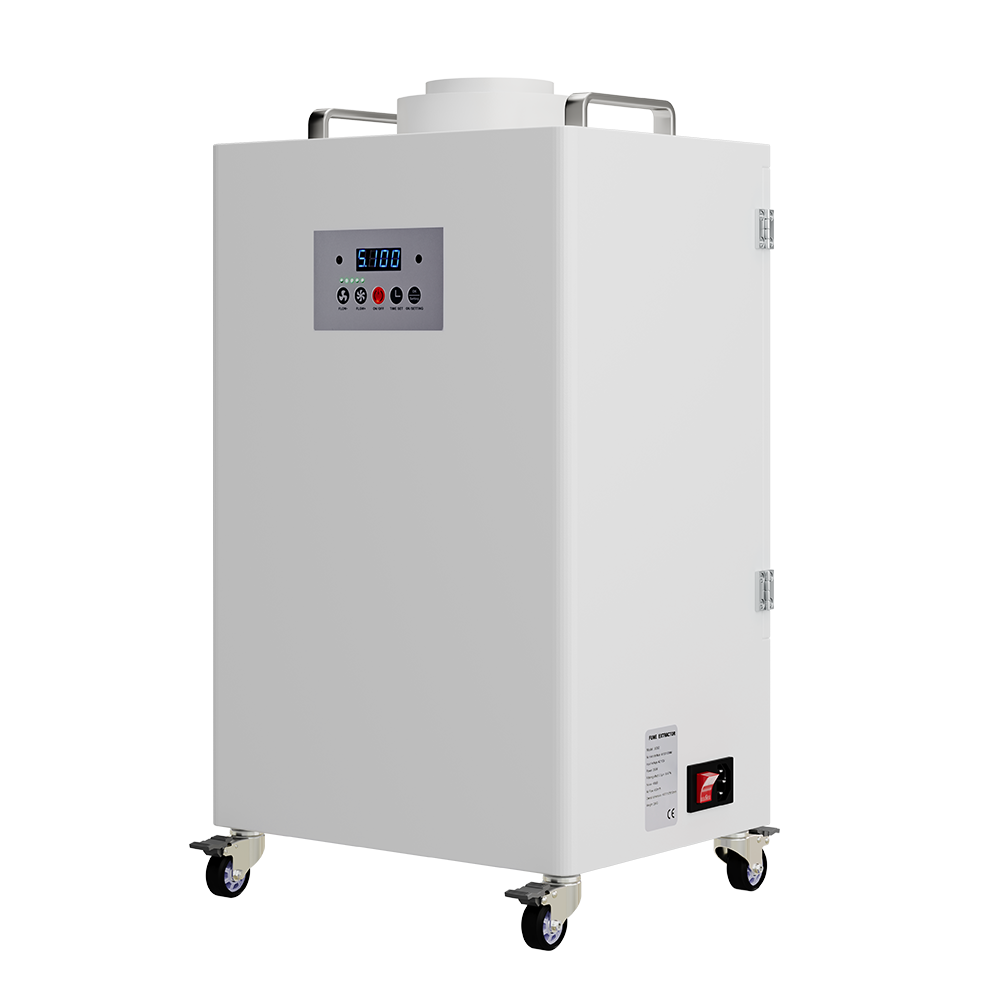
- Safety First: Laser engravers are powerful tools. Always prioritize safety by wearing appropriate eye protection and utilizing proper ventilation to remove fumes generated during the engraving process.
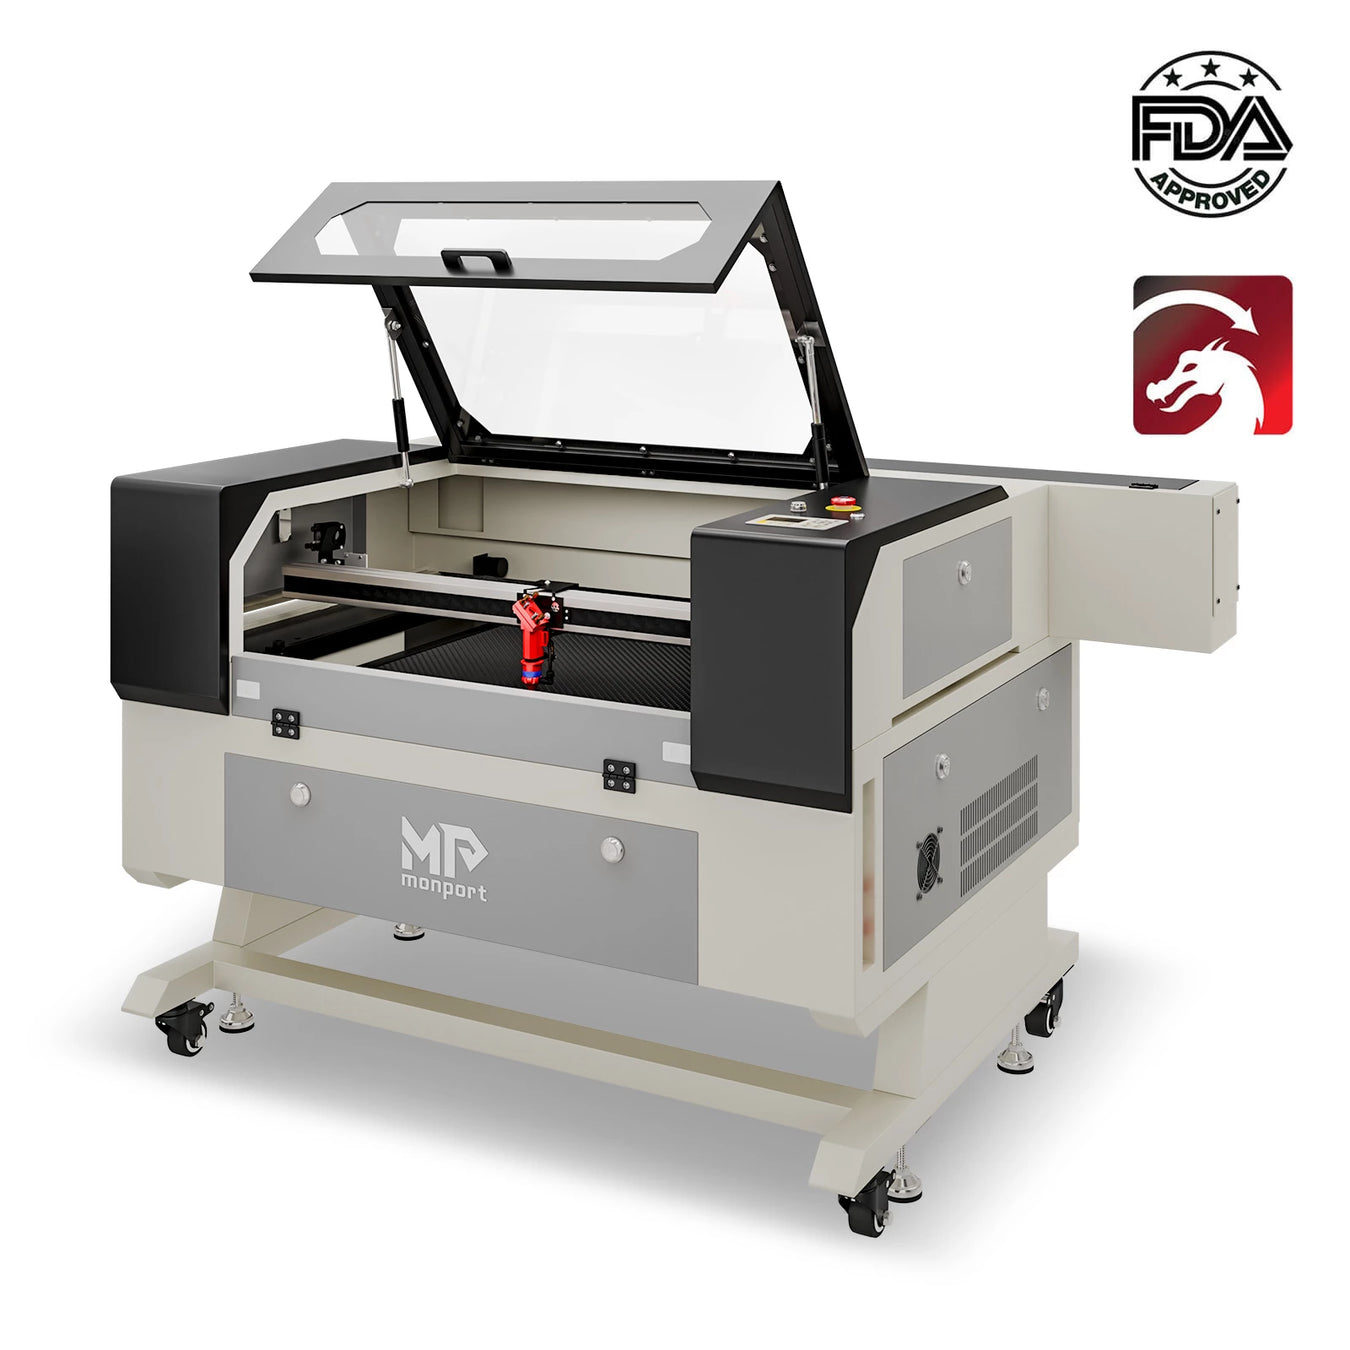
Introducing the Monport GA MOPA Fiber Laser: A Powerful Tool for Engraving Excellence
The Monport GA MOPA Fiber Laser is a desktop laser marking machine specifically designed for users who prioritize performance, efficiency, and ease of use. Here's what sets the GA MOPA Fiber Laser apart:
- All-in-One Design: Experience a complete package with an integrated auto-focus system, user-friendly interface, and LightBurn compatibility for a seamless engraving workflow.
- Enhanced Performance: The robust design ensures stability, precision positioning, and rapid marking speeds, ideal for high-volume engraving projects.
- Effortless Setup: The foldable vertical arm allows for one-minute installation, making it perfect for beginners or those who value quick setup times.
- Auto-Focus Innovation: Achieve high precision with a single click using the proprietary auto-focus technology, saving time and minimizing errors compared to manual focusing methods.
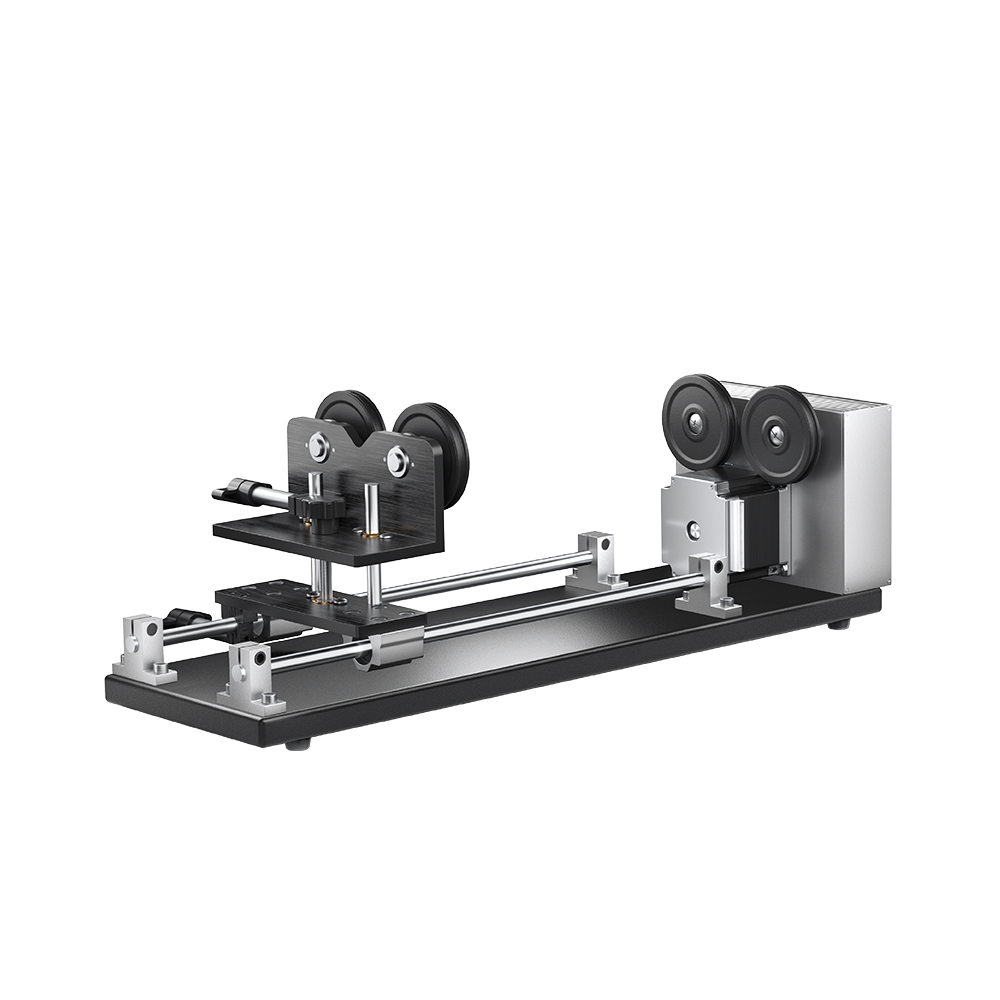
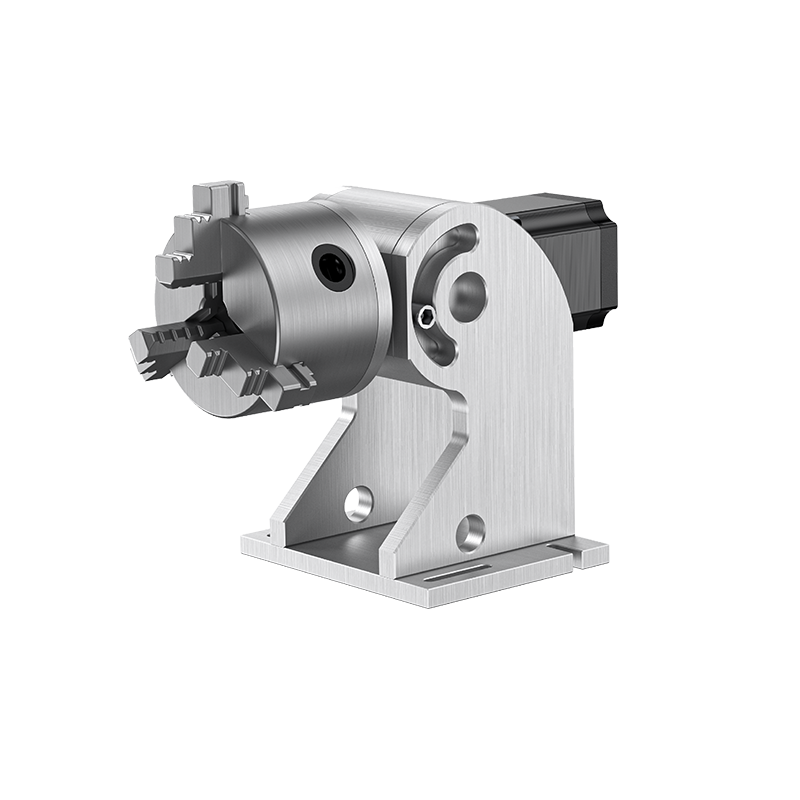
- Wide Application Range: The ±90° vertical arm rotation offers exceptional flexibility, allowing you to engrave on objects with various shapes and sizes.
By combining the power of the Monport GA MOPA Fiber Laser with the right laser marking software and essential engraving tips, you can unlock a world of creative possibilities. Whether you're a seasoned engraver or just starting your journey, this combination empowers you to achieve stunning results and
Mastering Laser Engraving with LightBurn: Software, Settings, and Troubleshooting
LightBurn has become a go-to software choice for laser engraving enthusiasts and professionals alike. Its user-friendly interface, powerful design tools, and extensive compatibility with various laser machines make it a versatile option for creating stunning engraved pieces. This guide explores the key features of LightBurn for laser engraving, delves into parameter settings and speed considerations, and offers a basic troubleshooting guide to help you navigate common challenges.
Unleashing Creativity with LightBurn
LightBurn empowers you to transform your creative vision into reality through its robust design capabilities:

- Import and Edit Artwork: Import various image formats, including vector graphics (DXF, SVG) and raster images (JPG, PNG). Utilize editing tools to modify, refine, and optimize your designs for laser engraving.
- Intuitive Design Tools: Shape creation tools, text manipulation features, and object layering functionalities allow you to design intricate and personalized engravings.
- Advanced Features: For experienced users, LightBurn offers advanced features like nesting (optimizing material usage), dithering (creating grayscale effects), and layer processing (engraving different design layers with specific settings).
Understanding Parameter Settings and Speed
LightBurn provides control over various laser engraving parameters, allowing you to achieve optimal results for different materials and desired effects. Here are some key parameters to understand:

- Power: Power (measured in watts) determines the laser beam's intensity. Higher power settings result in deeper engravings but can also lead to burning or melting the material.
- Speed: Speed (measured in millimeters per second) determines the laser beam's travel speed across the engraving surface. Slower speeds create deeper and more detailed engravings, while faster speeds create shallower markings.
- Pulses per Inch (PPI): PPI refers to the number of laser pulses delivered per inch of engraving. Higher PPI settings result in smoother and more detailed engravings, while lower PPI settings create a more textured effect.
Finding the Optimal Settings:
The ideal parameter settings for your engraving project depend on several factors, including:
- Material: Different materials have varying degrees of laser absorption. Research and experiment to find the best settings for your chosen material.
- Desired Effect: Do you want a deep, clean-cut engraving, or are you aiming for a lighter, textured effect? Adjust parameters accordingly.
- Laser Machine: Each laser machine has its own capabilities and limitations. Refer to your machine's user manual for guidance on compatible parameter ranges.
A General Rule of Thumb:
Start with lower power settings and slower speeds, gradually increasing them until you achieve the desired engraving depth and detail. It's always best to conduct test runs on scrap material before engraving your final project.
Troubleshooting Common LightBurn Issues
While LightBurn is a user-friendly software, occasional hiccups can occur. Here's a basic troubleshooting guide to address common issues:
- Connection Issues: Ensure your laser machine is properly connected to your computer and powered on. Check all cables for secure connections and verify that your laser machine is set to the correct communication mode.
- Incorrect Settings: Double-check your laser parameters in LightBurn. Ensure they are within the recommended range for your material and desired effect.
- Engraving Errors: If your engravings are not as expected (e.g., uneven lines, missed sections), consider adjusting laser focus, cleaning the laser lens, or verifying the accuracy of your design files.
- Software Crashes: If LightBurn crashes unexpectedly, try restarting the software or your computer. Ensure you're using the latest version of LightBurn and check for any software updates available for your operating system.
Remember: When troubleshooting, consult LightBurn's extensive online documentation and user forums for detailed troubleshooting guides and support resources.
Conclusion: Mastering the Art of Laser Engraving
The world of laser engraving offers endless possibilities for creating personalized and unique pieces. With the right tools, knowledge, and a dash of creativity, you can transform your ideas into stunning reality. This comprehensive guide has explored the powerful capabilities of the Monport GA MOPA Fiber Laser, unveiled the versatility of LightBurn software, and equipped you with valuable laser engraving tips and troubleshooting techniques.
Now it's your turn to take action! Whether you're a seasoned engraver or a curious beginner, the journey to laser engraving mastery awaits. Here are some next steps to consider:
- Invest in a Quality Laser Machine: Consider the Monport GA MOPA Fiber Laser for its user-friendly design, exceptional performance, and wide range of applications.
- Download LightBurn Software: Explore the free trial version of LightBurn to experience its intuitive interface and powerful features. Embrace the learning resources available online to master the software.
- Start Experimenting: Gather scrap materials and practice your engraving skills. Don't be afraid to experiment with different settings and designs to discover optimal results for various materials.
- Join the Laser Engraving Community: Connect with other laser enthusiasts online or in local communities. Share your creations, learn from others, and fuel your passion for laser engraving.
Laser engraving is a rewarding and ever-evolving art form. By embracing the knowledge and tools explored in this guide, you can embark on your laser engraving journey with confidence. So, unleash your creativity, refine your skills, and get ready to leave your mark on the world, one engraved masterpiece at a time!


Leave a comment